
This post is also available in:
 Deutsch (German)
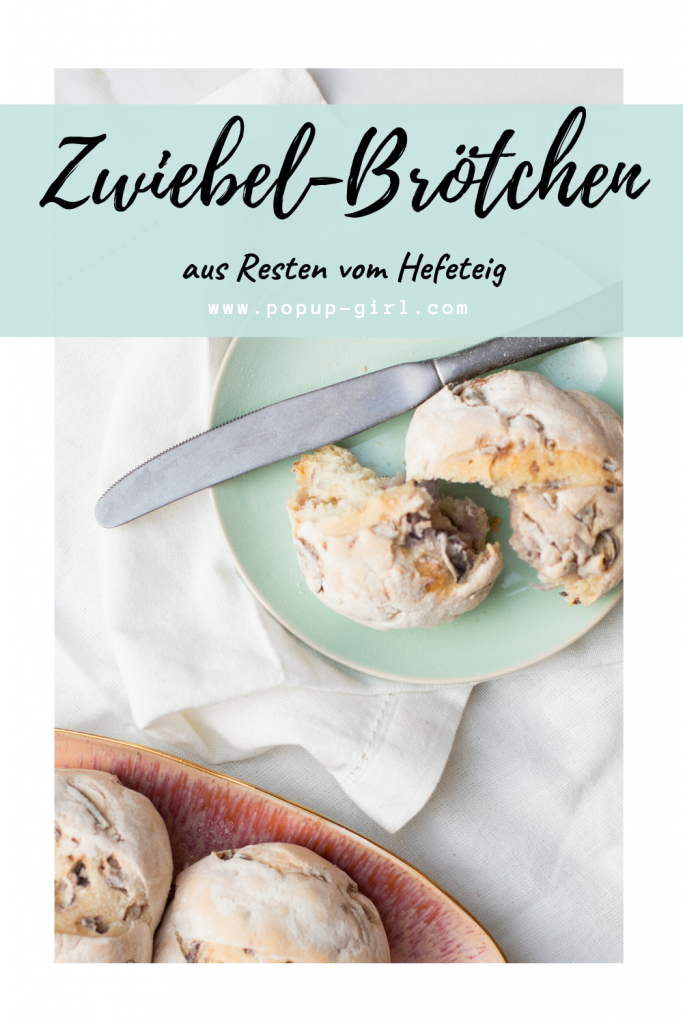
Who does not know that: this little leftover dough – just as much, or better said so little, that you can’t make anything out of it except a misshapen biscuit or a thick dough thaler. And that’s exactly what happened to me when I made onion tart again. It would have been just enough batter for another onion pie, but of course I ran out of egg mixture. There’s always something 🤷🏻♀️ And that’s how these delicious onion rolls came about.
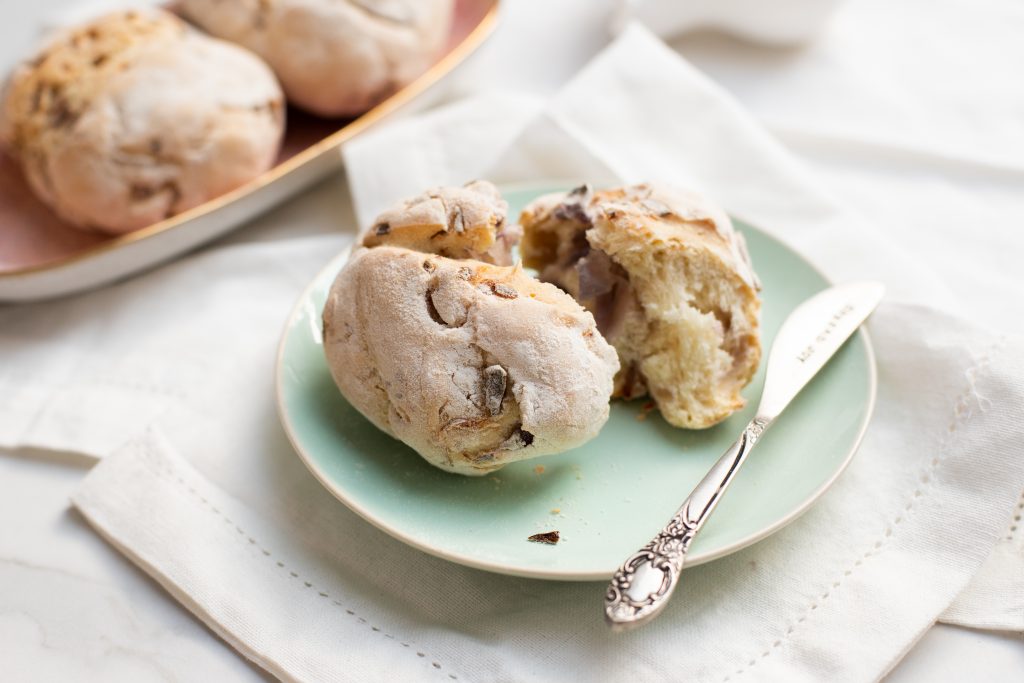
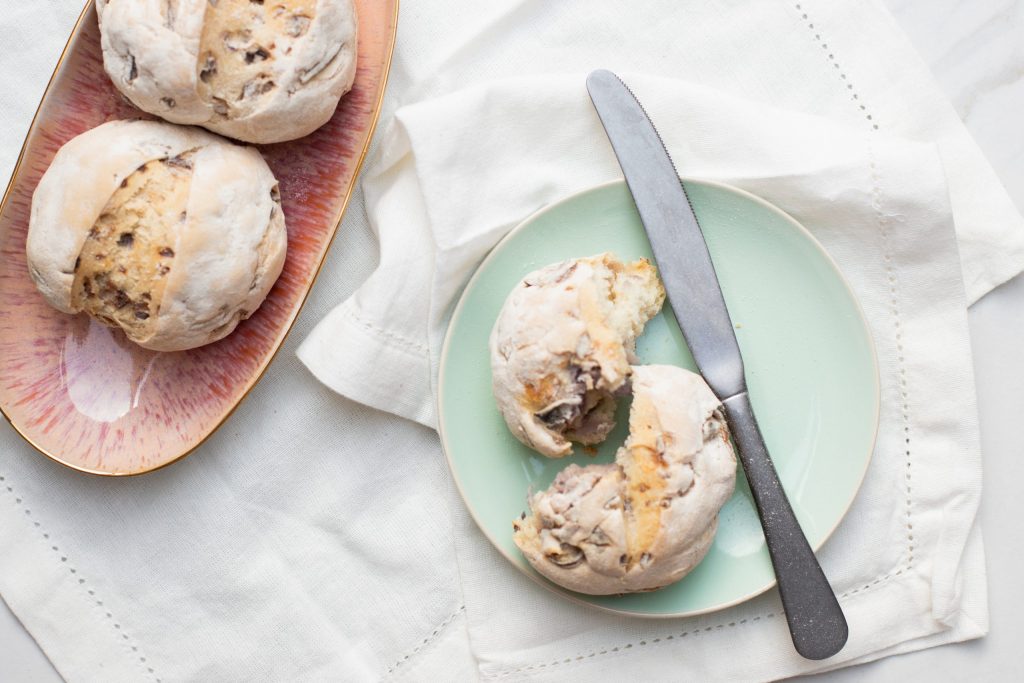
Homemade Onion Buns made from leftover dough:
The batter for the onion buns is made just like the base for the classic onion tart. And that’s how it works:
Ingredients (makes about 1 onion cake or 10 rolls):
(Basic dough onion cake & onion buns)
- 500g flour
- 1 packet of dry yeast (1/2 cube of fresh yeast)
- 1/2 teaspoon salt
- 1 pinch of sugar
- 1/4 l milk
- In addition 1 – 2 onions
Instructions:
- Preheat the oven (top / bottom heat) to 170 ° C.
- For the dough, mix the flour, sugar, salt and dry yeast well in a bowl. Add milk and knead into a smooth dough. Cover the dough and let it rest in a warm place for at least 60 minutes.
- If you work with fresh yeast: put the flour in a bowl and make a small hollow in the middle. Process the yeast (in pieces) with the sugar and milk into a pre-dough and let rise for a few minutes.
- Tip: The dough can also be prepared the day before. Simply put in the fridge after walking. The dough can then be processed as normal.
- While the dough rests, peel the onions and cut into fine rings. It is easier with a plane or a so-called mandolin.
- After the dough is rested, work the onions into the dough.
- Shape the dough into small rolls.
- Let the dough rise for another 10 minutes on a baking sheet lined with baking paper.
- Bake in the oven for about 15 to 20 minutes until golden brown.
- Tip: The finished rolls can be frozen well.

Stay in touch and follow me
Just browse through my little blog world. In addition to a wide variety of recipes, you will also find articles on travel, lifestyle and other stories of life.
In addition: You can find more of me on Facebook, on my Instagram accounts @Pop.Up.Girl or @Popupgirl_food and now also on YouTube. Like it – Share it – Comment it
PS: If you have any questions or just want to say “Hello”, leave me a comment or write to me by email.
By the way: If you’ve tried one of my recipes, take a photo and share it with the hashtag #popupgirlandfood on your social network channels. Don’t forget to tag me @pop.up.girl or @popupgirl_food so that I can find you too ☺️
Cheers,
💕Cat 💕

Ingredients
Method
- Ofen (Ober-/ Unterhitze) auf 170° C vorheizen.
- Für den Teig in einer Schüssel das Mehl mit Zucker, Salz und Trockenhefe gut vermischen. Milch dazugeben und zu einem geschmeidigen Teig verkneten. Den Teig zugedeckt und an einem warmen Ort für mindestens 60 Minuten ruhen lassen.
- Wer mit frischer Hefe arbeitet: Mehl in eine Schale geben und eine kleine Kuhle in der Mitte formen. Darin die Hefe (in Stücken) mit dem Zucker und der Milch zu einem Vorteig verarbeiten und ein paar Minuten gehen lassen.
- Die Zwiebeln in den Teig einarbeiten.
- Kleine Brötchen aus dem Teig formen.
- Die Teiglinge auf einem mit Backpapier ausgelegtem Backblech weitere 10 Minuten gehen lassen.
- Für circa 15 bis 20 Minuten im Ofen goldbraun backen.
Notes
Während der Teig ruht, die Zwiebeln Schälen und in feine Ringe schneiden. Einfacher geht es mit einem Hobel oder einer sogenannten Mandoline. Tipp: Die fertigen Brötchen lassen sich gut einfrieren.